
How to Enable or Turn on File History in Windows 10/11 [Stepwise Guide]
File History is a built-in Windows backup feature that automatically saves versions of your files. This step-by-step guide covers how to enable and configure File History in Windows 10 /11 for continuous file backups and easy recovery.
By Emma / Updated on April 10, 2025
Overview of Windows File History
Windows File History is a built-in backup feature in Windows (firstly introduced in Windows 8 and continued in Windows 10/11) that automatically saves copies of your personal files to an external drive or network location. It allows you to recover previous versions of files in case of accidental deletion, corruption, or other data loss scenarios.

Before diving into the steps of how to enable File History in Windows 10, you might be interested what you can benefit from this handy feature:
🏷️Automatic Backups: Regularly backs up files from libraries, desktop, contacts, favorites, OneDrive (if synced) and other specific folder in fixed frequency. The default backup frequency is set to every hour, which can be adjusted as needed.
🏷️Version History: Keeps multiple versions of files, allowing you to restore an older version if needed.
🏷️External Drive or Network Backup: Requires an external USB drive, secondary internal drive, or a network location (NAS or shared folder).
🏷️User-Friendly Restoration: Restore files via File Explorer or the File History control panel.
🏷️Exclusion of Folders: Allows excluding specific folders from backup to save precious space on the destination backup drive.
🏷️Retention Settings: Choose how long to keep backups (until space is needed, forever, or for a custom duration).
How to Enable Windows File History in Windows 10 or 11?
This breakdown will guide you through how to turn on Windows File History to protect your files and and recover lost or deleted data in Windows when necessary.
Turn on File History
Step 1. Connect an external drive to you computer or select a network location.

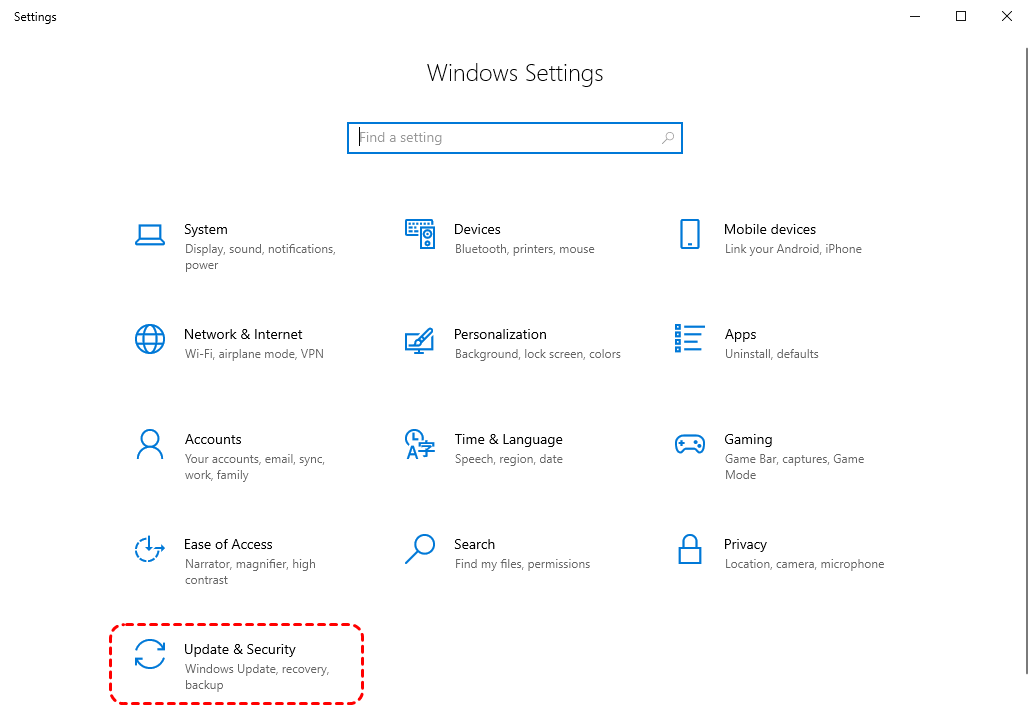
Step 2. Go to "Settings", then "Update & Security".
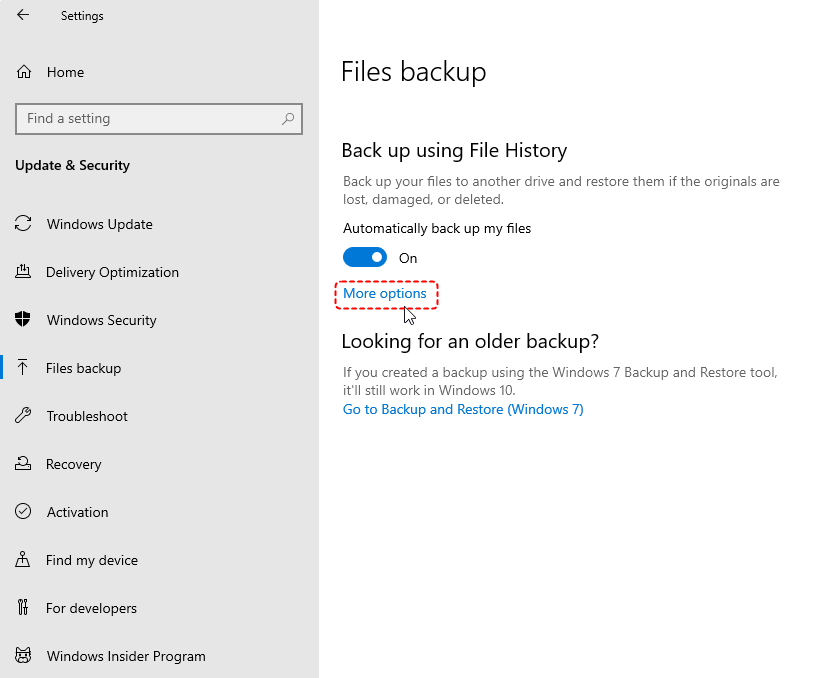
Step 3. Navigate to the "Files backup" tab, then toggle the "Back up using File History" switch to ON.
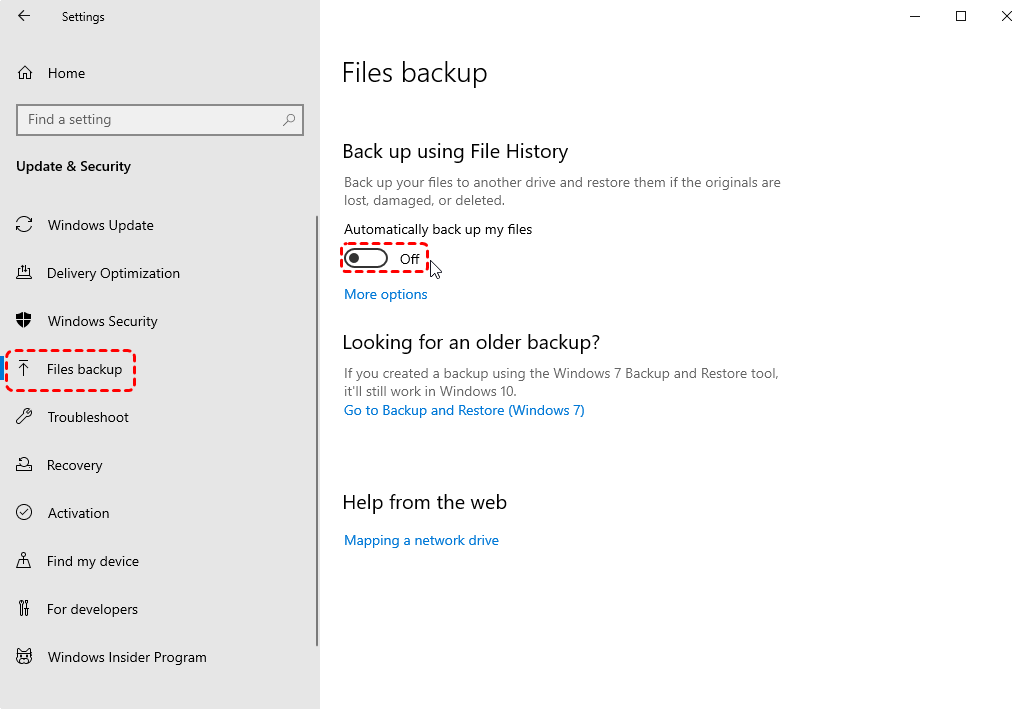
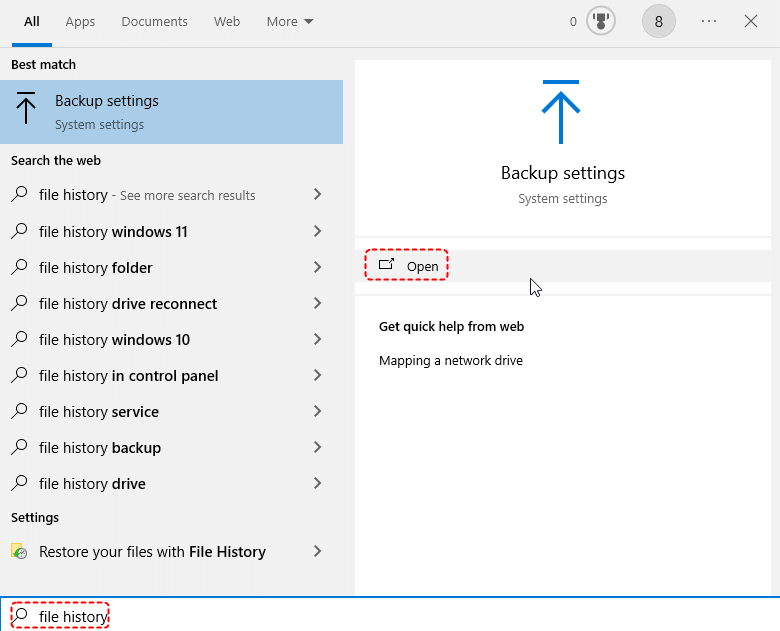
Alternatively, search “File History” in your Start menu and click "Open" under the "Backup Settings" option. Then toggle the switch on.
Add a Drive as the Backup Destination
Step 1. If no drive is selected by default, you can choose a different one by selecting the option “Add a drive”.
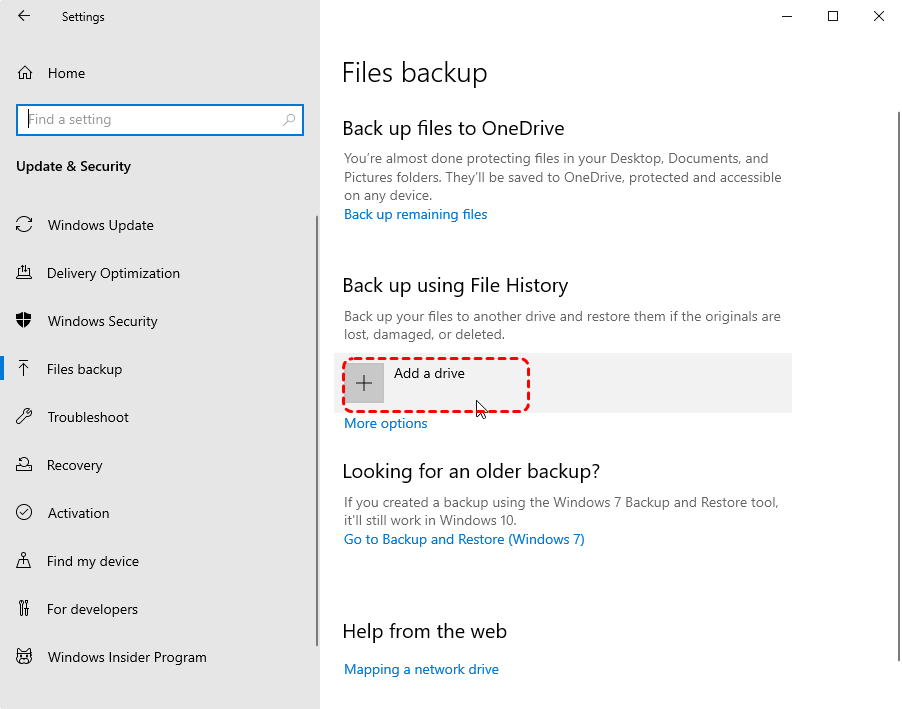
Step 2. In the "Select a File History drive" window, choose the external drive or network location you wish to use for backups and select "OK".
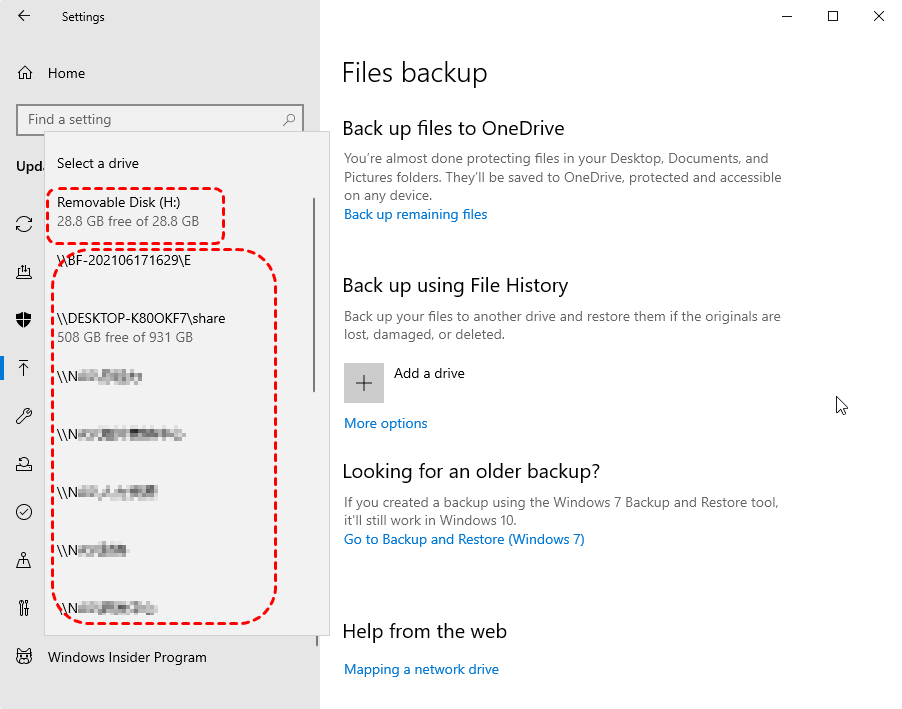
Sometimes, you might meet the error "File History doesn't recognize this drive." In such cases, check whether the drive is connected correctly, has the file system error, drive letter conflicts or driver problems.
Advanced Configuration As you Need
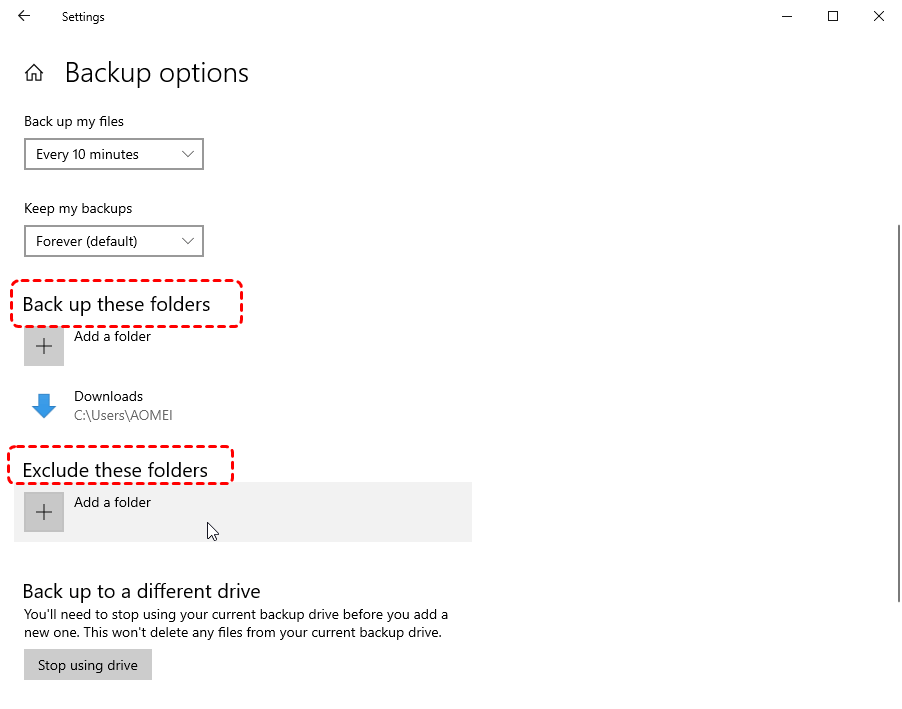
To back up specific folders to the drive, or back up in your desired frequency using File History, just click “More Options” under “Back up using File History”.
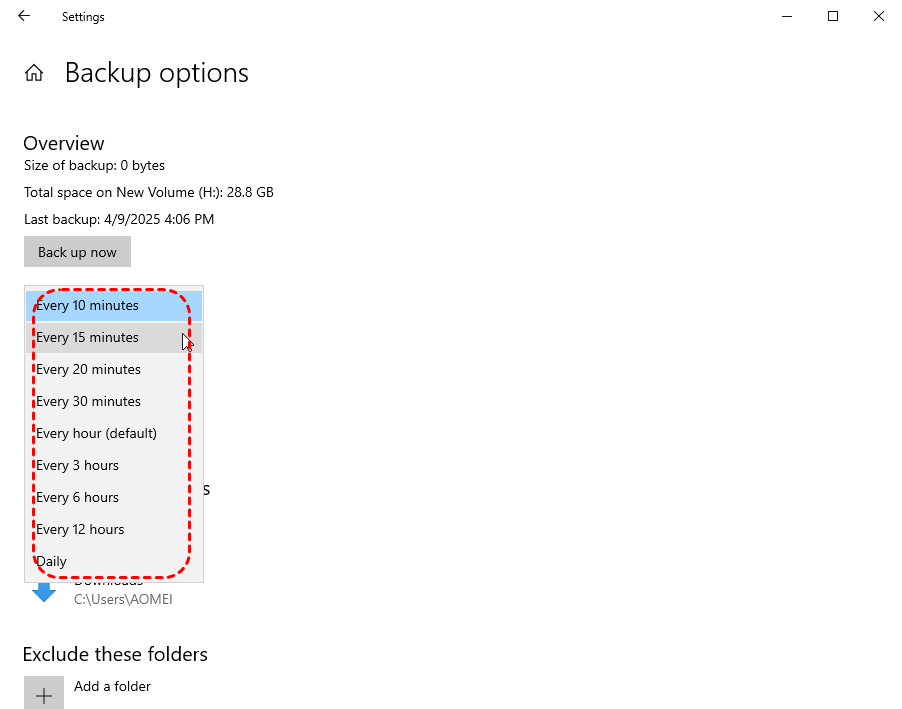
1. Set backup frequency
2. Change backup retention period
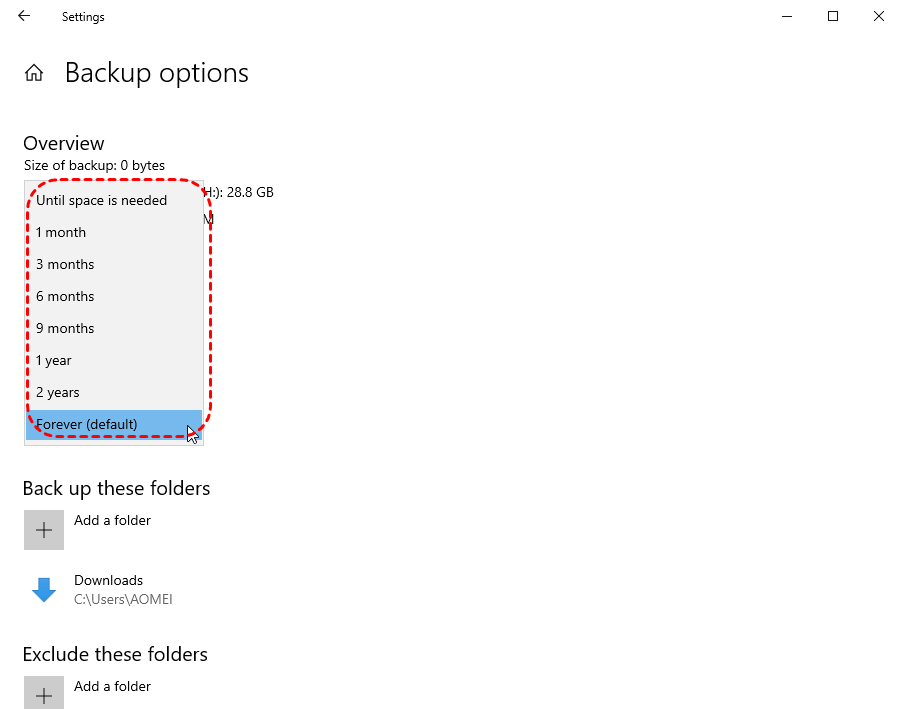
3. Add specific folder to the backup plan
4. Exclude specific folder from the backup plan
How to Use File History in Windows 10 / 11 for Data Recovery?
After learning how to enable or turn on File History, now it’s time to know how to restore from Windows File History when you lose important data on Windows computer. 2 methods are available.
Method 1. Restore from File Explorer
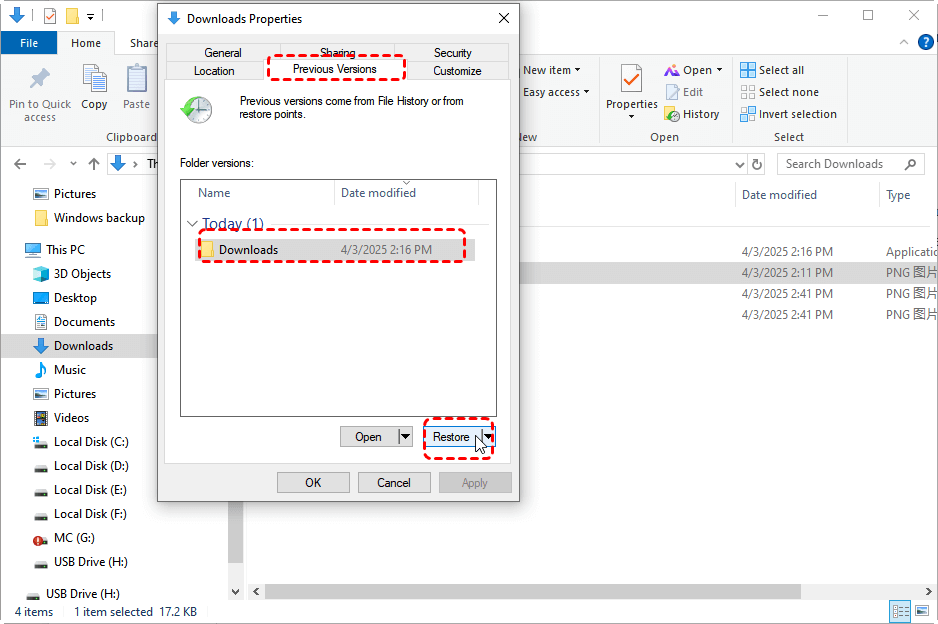
Step 1. Open File Explorer, navigate to the file/folder.
Step 2. Right-click the file or folder and choose "Restore previous versions" from the drop-down menu.
Step 3. Choose a version before the date when you lose your files and click on "Restore".
To avoid overwriting the current version, you can also restore to a different location by expanding “Restore" button and selecting "Restore to".
Method 2. Restore from File History Control Panel
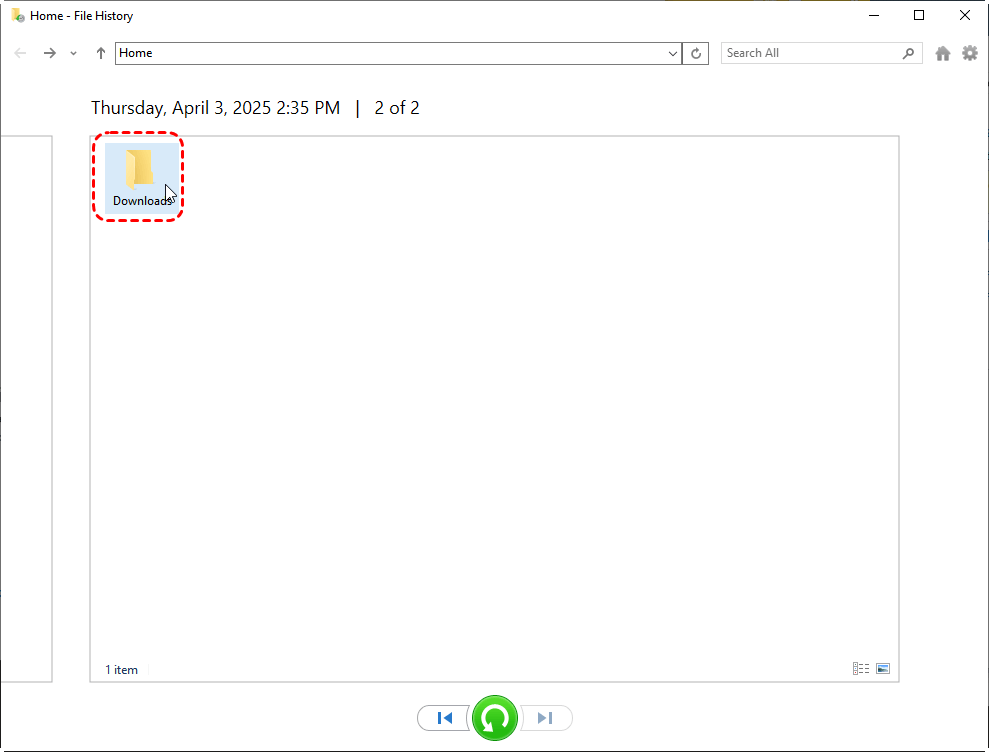
Step 1. Open File History as you do in the above section about how to turn on File History. Click "More options" and scroll down the window, then choose "Restore files from a current backup".
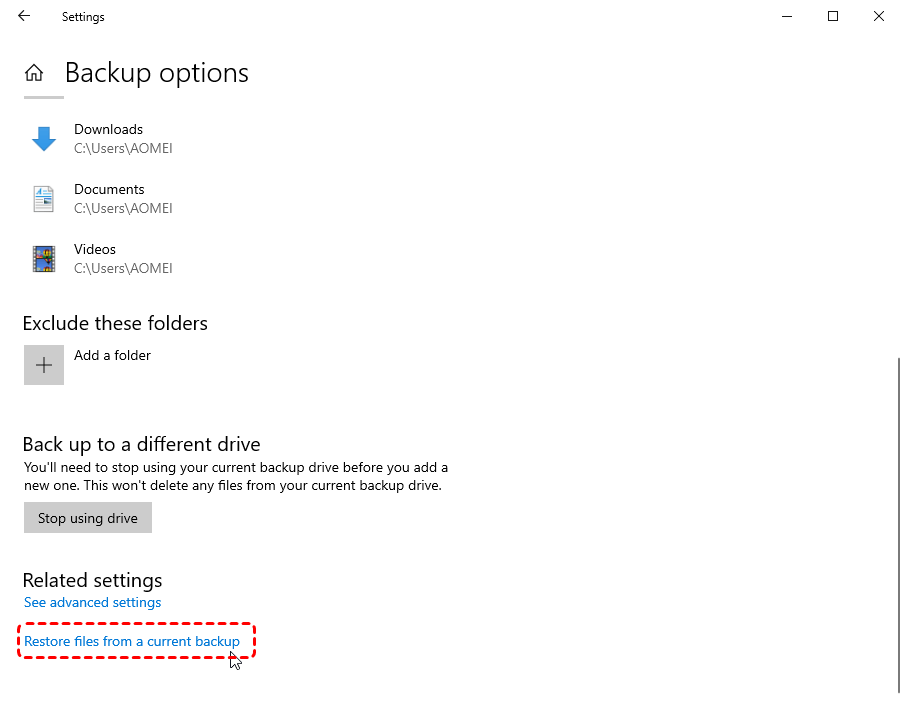
Step 2. In the File History window, you can see all backups that have been made before. Choose the specific folder or files, and click "Restore" or "Restore to".
Bonus Tip: How to Recover Files without File History in Windows
While File History is useful for restoring previous versions of backed-up files, it has two key limitations:Requires Prior Setup(If you never enabled File History, deleted files cannot be recovered through this method).Only Protects Selected Folders (Files outside Libraries, Desktop, Contacts, and Favorites are not backed up).
If you need to restore deleted or lost files without enabling File Historyin Windows beforehand, a free yet dedicated data recovery tool like MyRecover can help.It can recover 1000+ formats of photos, videos, docs, archives, emails, compressed files, etc from HDD, SSD, USB flash drive, SD card and other storage devices, no matter how they get lost such as accidental deletion, format, drive corruption, system crash, virus attack and more.
Only 4 steps can easily retrieve lost data in all editions of Windows 11, 10, 8.1, 8, 7 and Windows Server 2022, 2019, 2016, 2012, etc.
Step 1. Download and install the software.
Step 2. Open it, select the target drive where you lost data and click on “Scan”.

Step 3. After the scanning process, you will see all missing files from the selected drive. Tick what you need and click “Recover”.

Step 4. Choose an another safe location to save the recovered data.

Summary
Windows File History is a powerful built-in tool that helps safeguard your important files through automatic backups and version control. By enabling it, you can easily restore previous versions of documents, photos, and other personal data—protecting against accidental deletion, corruption, or system failures.
If you don’t want to enable File History for its limitations, or you don’t have proper external / network drives for turning it on, MyRecover, a powerful data recovery tool, can be a nice alternative to recover files in Windows computer. Its advanced editions (Professional and Technician) offer more avdanced features: recovering files from crashed system, previewing before final recovery and more.

