
How to Recover Video Files Deleted from Recycle Bin [Easy Steps]
Have you ever been in a situation where, while trying to clean up unwanted files, you accidentally emptied the entire Recycle Bin and deleted cherished photos or videos that hold precious family memories? Wondering how to recover video files deleted from the Recycle Bin? This article will provide you with several effective methods to recover files deleted from the Recycle Bin.
By Aria / Updated on April 24, 2025
Is File Recover Possible after being Deleted from Recycle Bin?
When you accidentally delete a video file, such as favorite movies, freshly edited portfolios, life vlogs and more, there's a good chance to undo——you can find it in the Recycle Bin. That's because the Recycle Bin serves as a temporary storage area for deleted video files. But here's the catch: once you delete the video file from the Recycle Bin, it seemingly vanishes from your entire computer. Does this mean that files deleted from the Recycle Bin are beyond recovery?
Certainly not! When data is deleted from the Recycle Bin, it isn't entirely erased. Instead, the computer flags the associated storage area as writable space. So, once files are deleted, it's crucial to immediately stop writing any new data to the drive where the lost files were stored. This prevents the original files from being overwritten.
Returning to the earlier question, how to recover video files deleted from the Recycle Bin? This article will offer several ways to recover the deleted video file and some tips to maximize data security through the Recycle Bin. Moreover, time is of the essence—act swiftly, because with each passing moment, as new data is added to the disk, the odds of successful recovery plummet.
How to Recover Video Files Deleted from Recycle Bin
As previously stated, when the video files are permanently deleted from Recycle Bin, they are seemingly lost from your computer, and unfortunately, this operation cannot be undone. However, there’s still a glimmer of hope. If you wish to restore the deleted video files, you can try the following methods.
Method 1. Recover Videos from “Restore Previous Version”
Restore previous versions feature in Windows offers a convenient way to recover video files deleted from Recycle Bin. However, there's one important caveat to remember: this feature only works if you've set up File History or created a system restore point before losing the files. If you haven't configured these backups, or if they've been deleted or overwritten, the system will inform you that no previous version is available when you attempt to recover the important file.
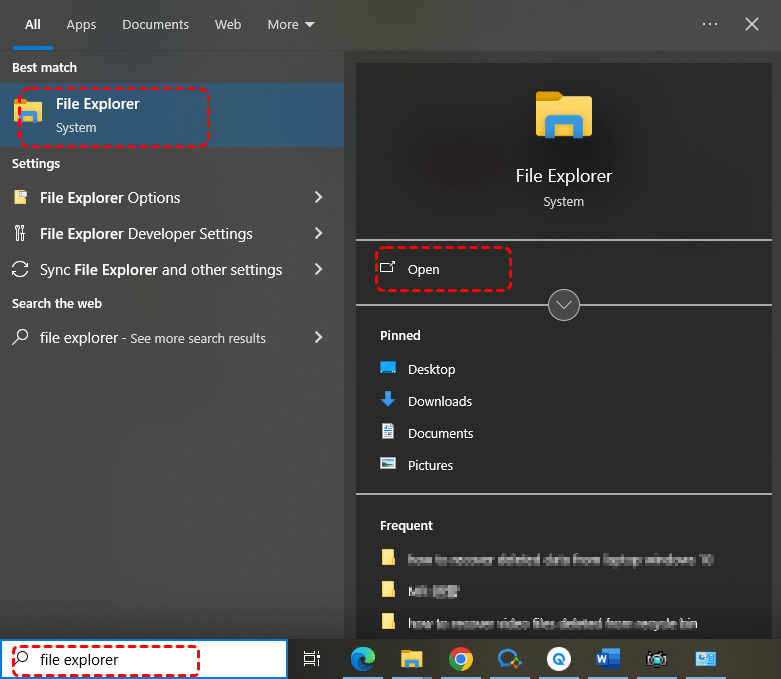
Step 1. Type “file explorer” in the start menu and open it (there are several ways to open File Explorer such as double-clicking This PC icon or pressing the Windows key and E simultaneously).
Step 2. Navigate the folder that contained the video files before they were deleted.
Step 3. Right click and choose “Restore previous version”, then select the version you want to restore.

Method 2. Recover Deleted Videos via “Windows File History”
Windows File History is a tool for backing up Windows files to a specific location. It will automatically back up files and folders and create a history of your files. This way, it can effectively prevent users from data loss caused by accidental file deletion. Similarly, if you want to make use of this feature effectively, make sure to enable it before the video files go missing.
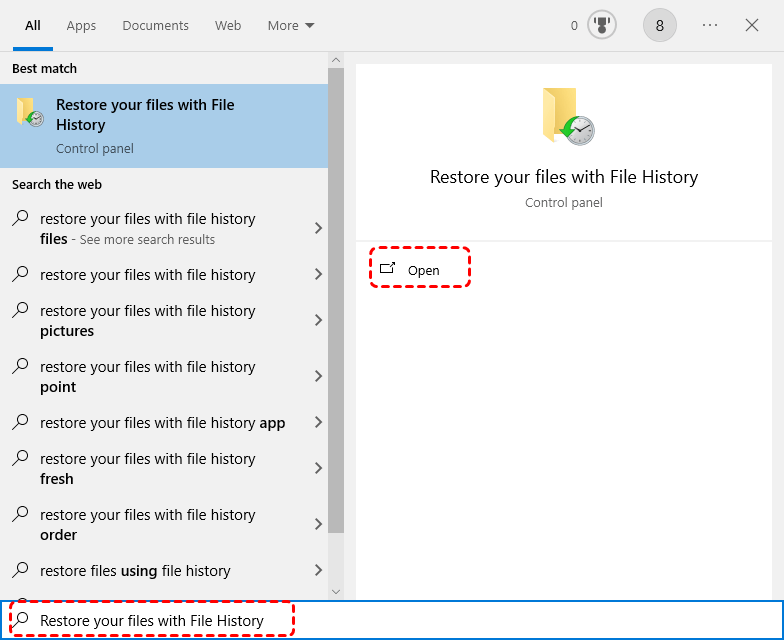
Step 1. Type “restore your files with file history” in the start menu and open it.
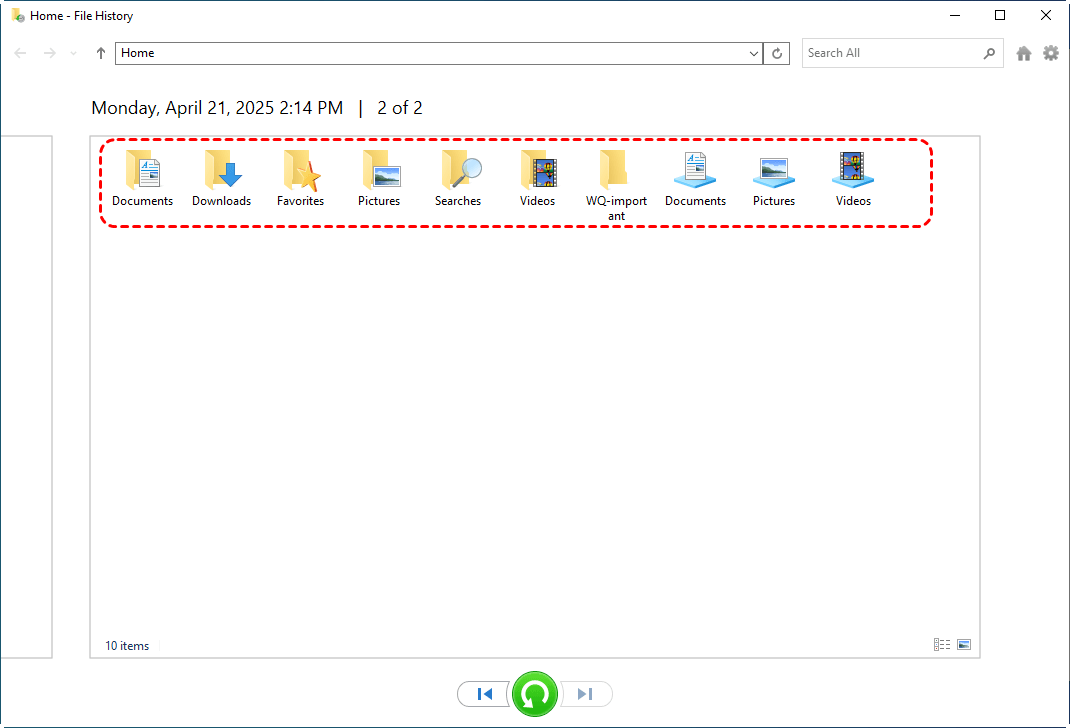
Step 2. Choose the version of target files and click restore button—the green one—to recover files deleted from recycle bin.
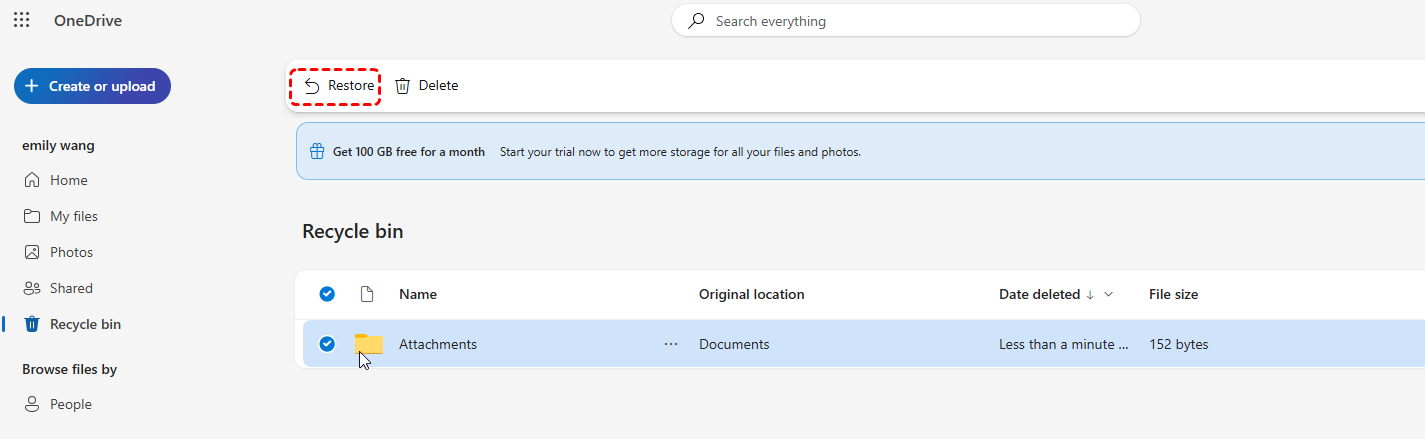
Method 3. Restore Videos Using Cloud Backup
Regularly backing up your files isn't just a good habit—it's a safeguard that significantly minimizes the risk of data loss. With a backup in place, recovering deleted files becomes a breeze. Take OneDrive as example, if the file was synced to OneDrive and then permanently deleted, it can be recovered from the OneDrive recycle bin.
Method 4. Retrieve Video Files via “Windows File Recovery” [No Backup Required]
Windows File Recovery can help recover personal data that have been deleted from your local storage device (including internal drives, external drives, and USB devices) and can’t be restored from the Recycle Bin. However, this application is only compatible with Windows 10 and 11. If your Windows version is too old, it won't support running this app.
Step 1. Download Windows File History from officially Microsoft channel and install it following the instruction on the screen.

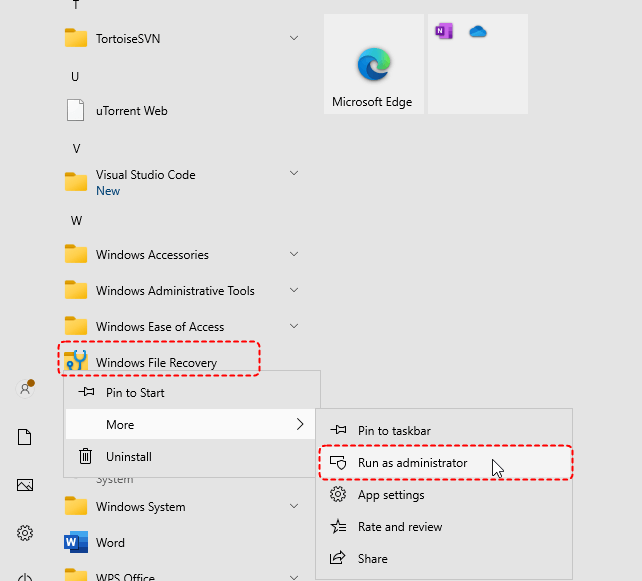
Step 2. Locate the Windows File Recovery in the start menu, and right click to choose “Run as administrator”.
Step 3. In the command prompt window, enter the following command: winfr D: E: /extensive /n *.mp4.
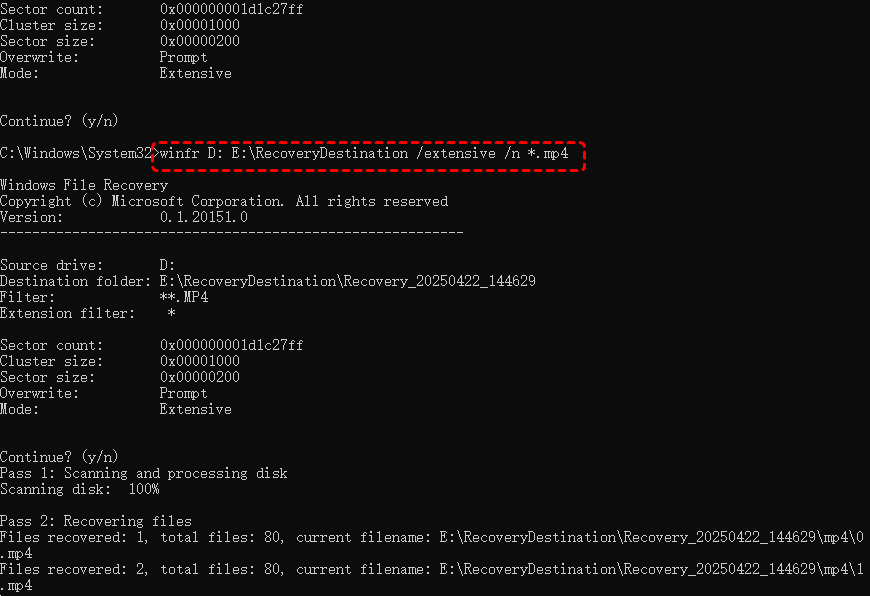
Step 4. Enter “Press” to start the recover process.
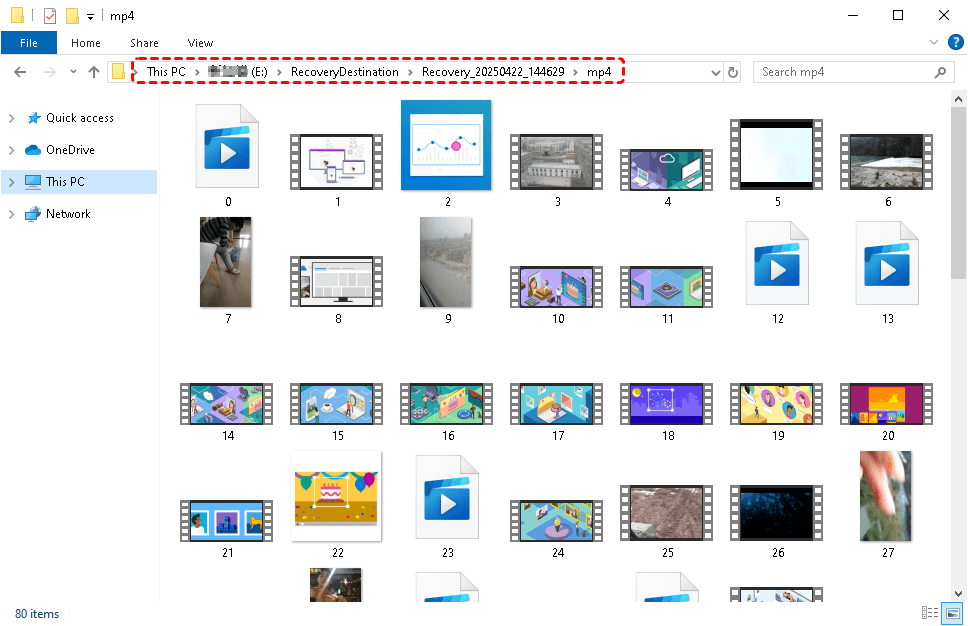
Step 5. Once done, you can navigate to the recovery folder to check the deleted video files.
Method 5. Restore Video by MyRecover [No Backup Required]
MyRecover is a powerful third - party data recovery solution designed to retrieve lost data from various challenging scenarios, including emptied Recycle Bins, system crashes, and more. What sets MyRecover apart is its simplicity; even novice users can easily recover lost data without steep learning curves.
Unlike above recovery methods, MyRecover comes with no constraints. It has no pre - activation requirements and isn't limited by the Windows version. It’s compatible with Windows 11, 10, 8.1, and 8, 7 and server. Instead of dealing with complex command lines, MyRecover features a streamlined graphical user interface. This makes the recovery process intuitive—simply navigate the interface, select the target device, and start the recovery.
Step 1. Download and install MyRecover on your computer.
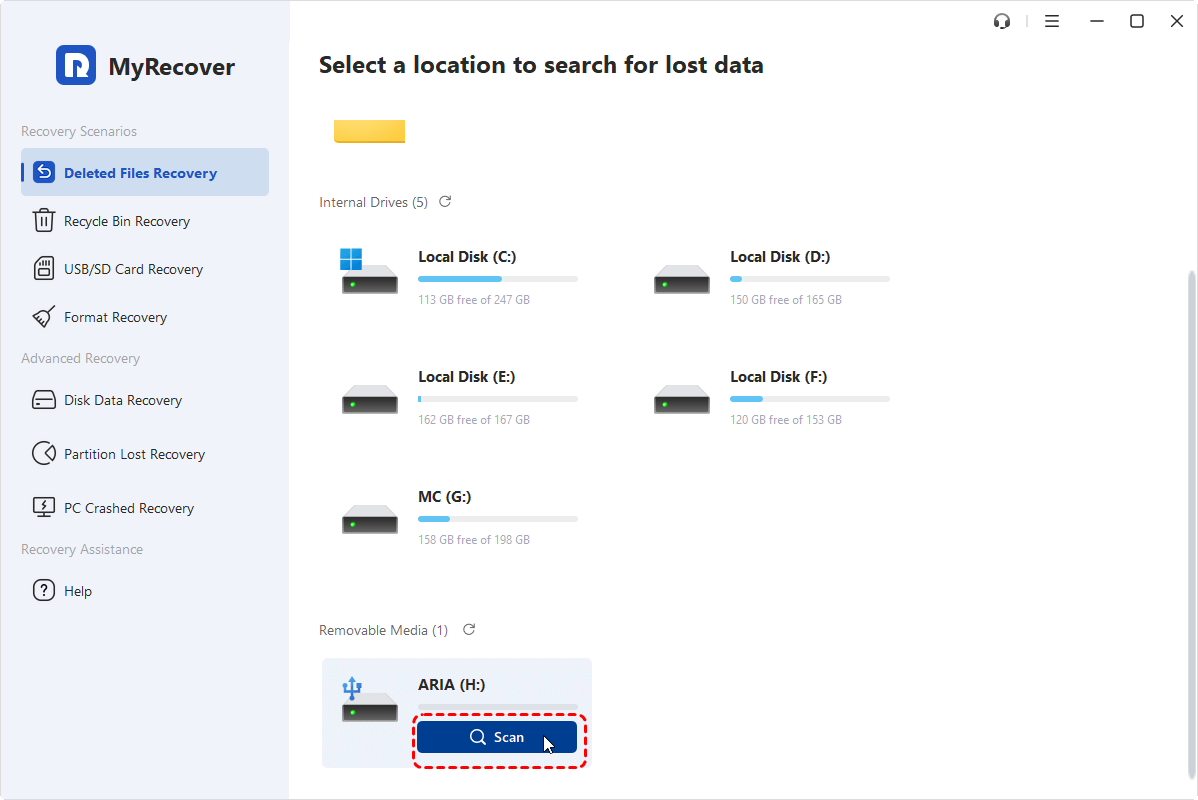
Step 2. Select the target drive and click “Scan”.
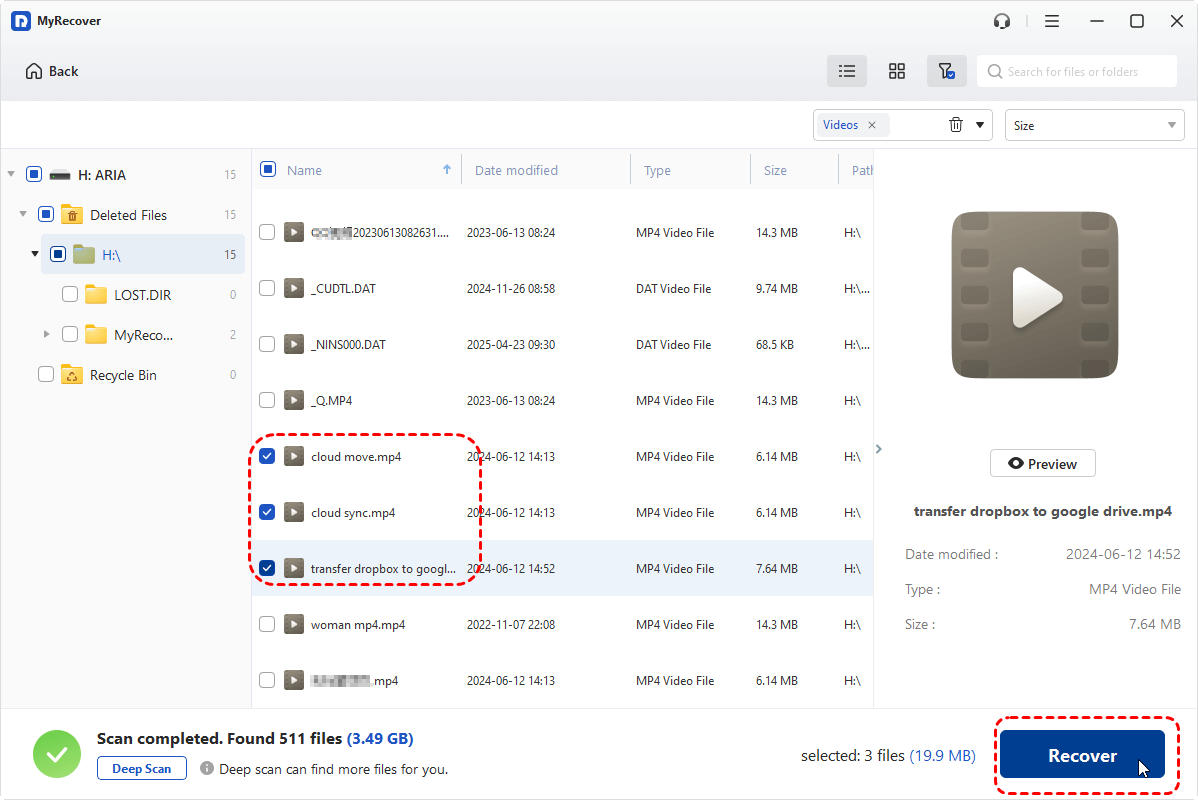
Step 3. Select the files you want to recover in the recoverable results and click “Recover”.
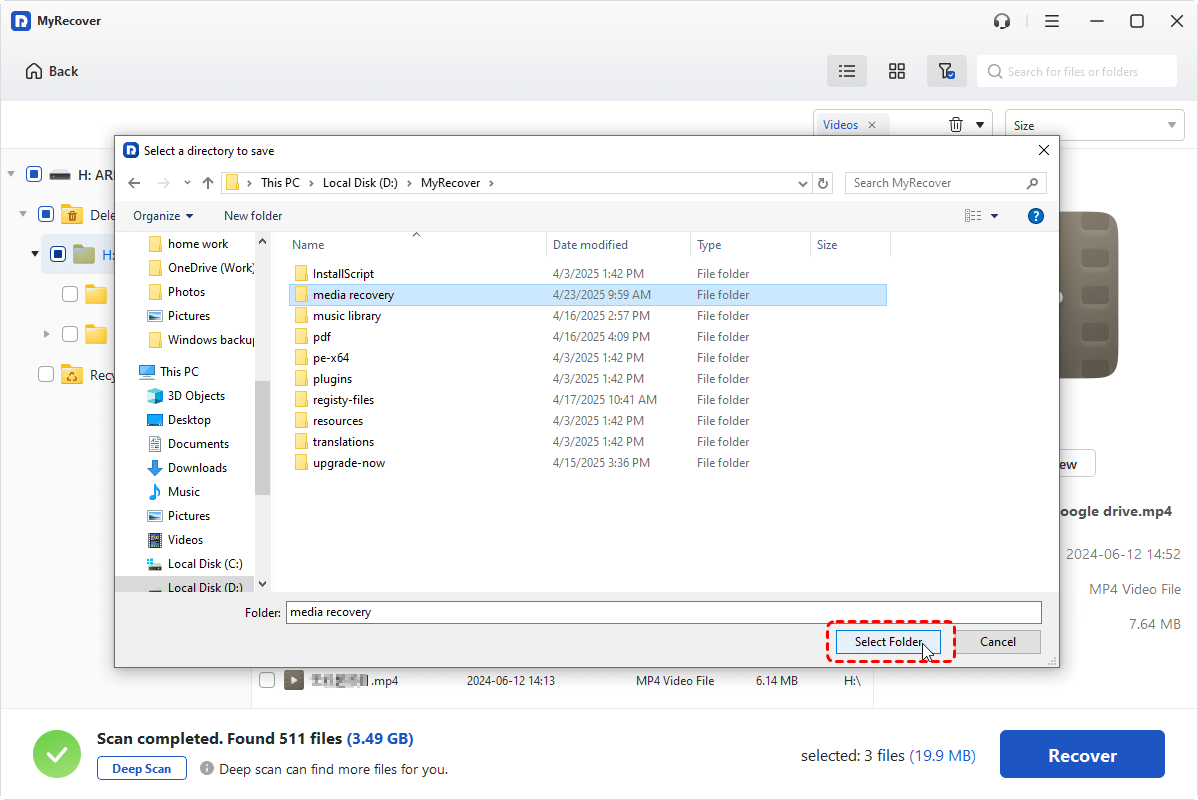
Step 4. Choose a different drive to save the recovered files.
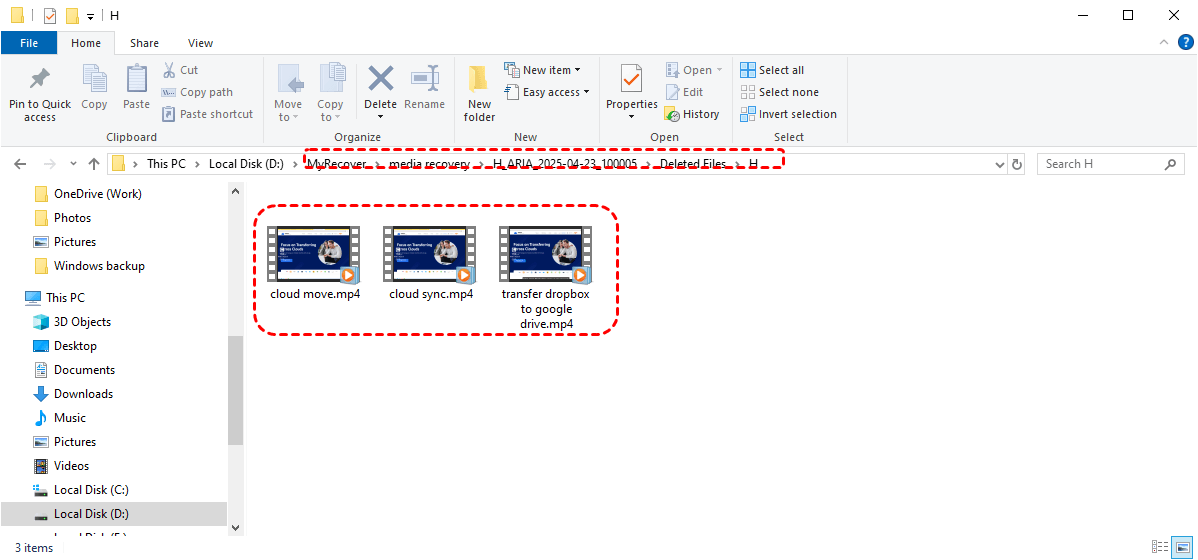
Step 5. When the message indicating successful file recovery shows up, you can access the recovered video files in the destination folder.
Tips for Maximizing the Utility of the Recycle Bin
You've now learned how to recover deleted video files from the Recycle Bin. To avoid permanently deleting files from the Recycle Bin again, in this section we'll share some advice to help you use the Recycle Bin more effectively and prevent temporarily deleted files from being permanently erased.
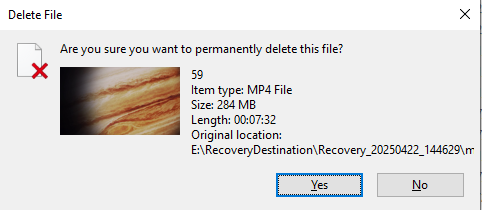
Enable Deletion Confirmation Dialog: Enabling Deletion confirmation dialog will notify you whenever you attempt to delete a file, warning you that it may be permanently removed.
Expand the Available Space of Recycle Bin: As you use your computer over time, more files get deleted, and as a result, the available space in the Recycle Bin gradually shrinks. By expanding the Recycle Bin's storage capacity, you can lower the likelihood of deleting files just to free up space.
Change the Time Deleted File Remain in: Extending the retention period of files in the Recycle Bin gives you more time to reverse a deletion you might come to regret.
Conclusion
Now that you've gone through the information above, I'm confident you've grasped the techniques for recovering video files deleted from Recycle Bin. But regardless of how complex your data loss scenario may be, MyRecover stands out as the top data recovery solution. Its intuitive operation process eliminates any anxiety about losing important data.
Moreover, if you require more advanced features, the Professional and Technician of MyRecover editions are tailor - made for you. These editions offer a broader range of capabilities, ensuring that even the most demanding data recovery needs are met with precision and ease.

